4 min read
How to build authentication with Next.js, NextAuth, and Prisma
Bharat Kilaru
We're going to run through one of our preferred ways to handle auth in Next.js apps!
There are so many ways to handle auth these days. You have full backend as a service tools like Supabase and Firebase offering auth solutions, independent providers like Clerk, Stytch, and Auth0, and you have plenty of options to roll your own.
Regardless of what solution you may want to use, implementing both authentication and authorization can have it's own set of opinions. That's where NextAuth comes in.
NextAuth (soon to be Auth.js!) has rapidly become the best way to handle auth when it comes to building Next.js apps. You get support for providers of your choice, access to email + password or magic link, and adapters to work with existing auth solutions in the market.
Let's run through how to complement this with the use of Prisma, tRPC, Zod!
Set up Next.js
Let's set up our Next.js scaffolding with Typescript and open our app
npx create-next-app@latest --ts next-auth-app
cd next-auth-appSet up Prisma
Next, let's set up Prisma and our schema.
npm install prisma
npx primsa init
Update schema.prisma with
generator client {
  provider = "prisma-client-js"
}

datasource db {
  provider = "sqlite"
  url      = "file:./dev.db"
}

model User {
  id        Int      @id @default(autoincrement())
  username  String   @unique
  email     String   @unique
  password  String
  createdAt DateTime @default(now())
  updatedAt DateTime @updatedAt
}
Run a migration with
npx prisma migrate dev --migration-name initLet's add a /server folder to and add a server/db.ts file
import { PrismaClient } from "@prisma/client";

export const prisma = new PrismaClient();Set up tRPC
Let's bring everything we need for tRPC, including React Query and Zod.
npm install @trpc/client @trpc/server @trpc/react @trpc/next zod react-queryWe'll create our tRPC context with a src/server folder and
To our Next.js api folder, we'll add a api/trpc folder, where we'll add [trpc].ts
Set up NextAuth
Let's add NextAuth, AKA Auth.js, to our project:
npm install next-authNext, let's set up our API files:
We'll first set up pages/api/auth/[...nextauth].js
import NextAuth from "next-auth";
import GithubProvider from "next-auth/providers/github";

export const authOptions = {
  // Configure one or more authentication providers
  providers: [
    GithubProvider({
      clientId: process.env.GITHUB_ID,
      clientSecret: process.env.GITHUB_SECRET,
    }),
    // ...add more providers here
  ],
};

export default NextAuth(authOptions);
While usually you'd start with Email and Password, you'll find that Auth.js doesn't push this for security consideration. Instead, we'll set up a GitHub provider
GitHub OAuth
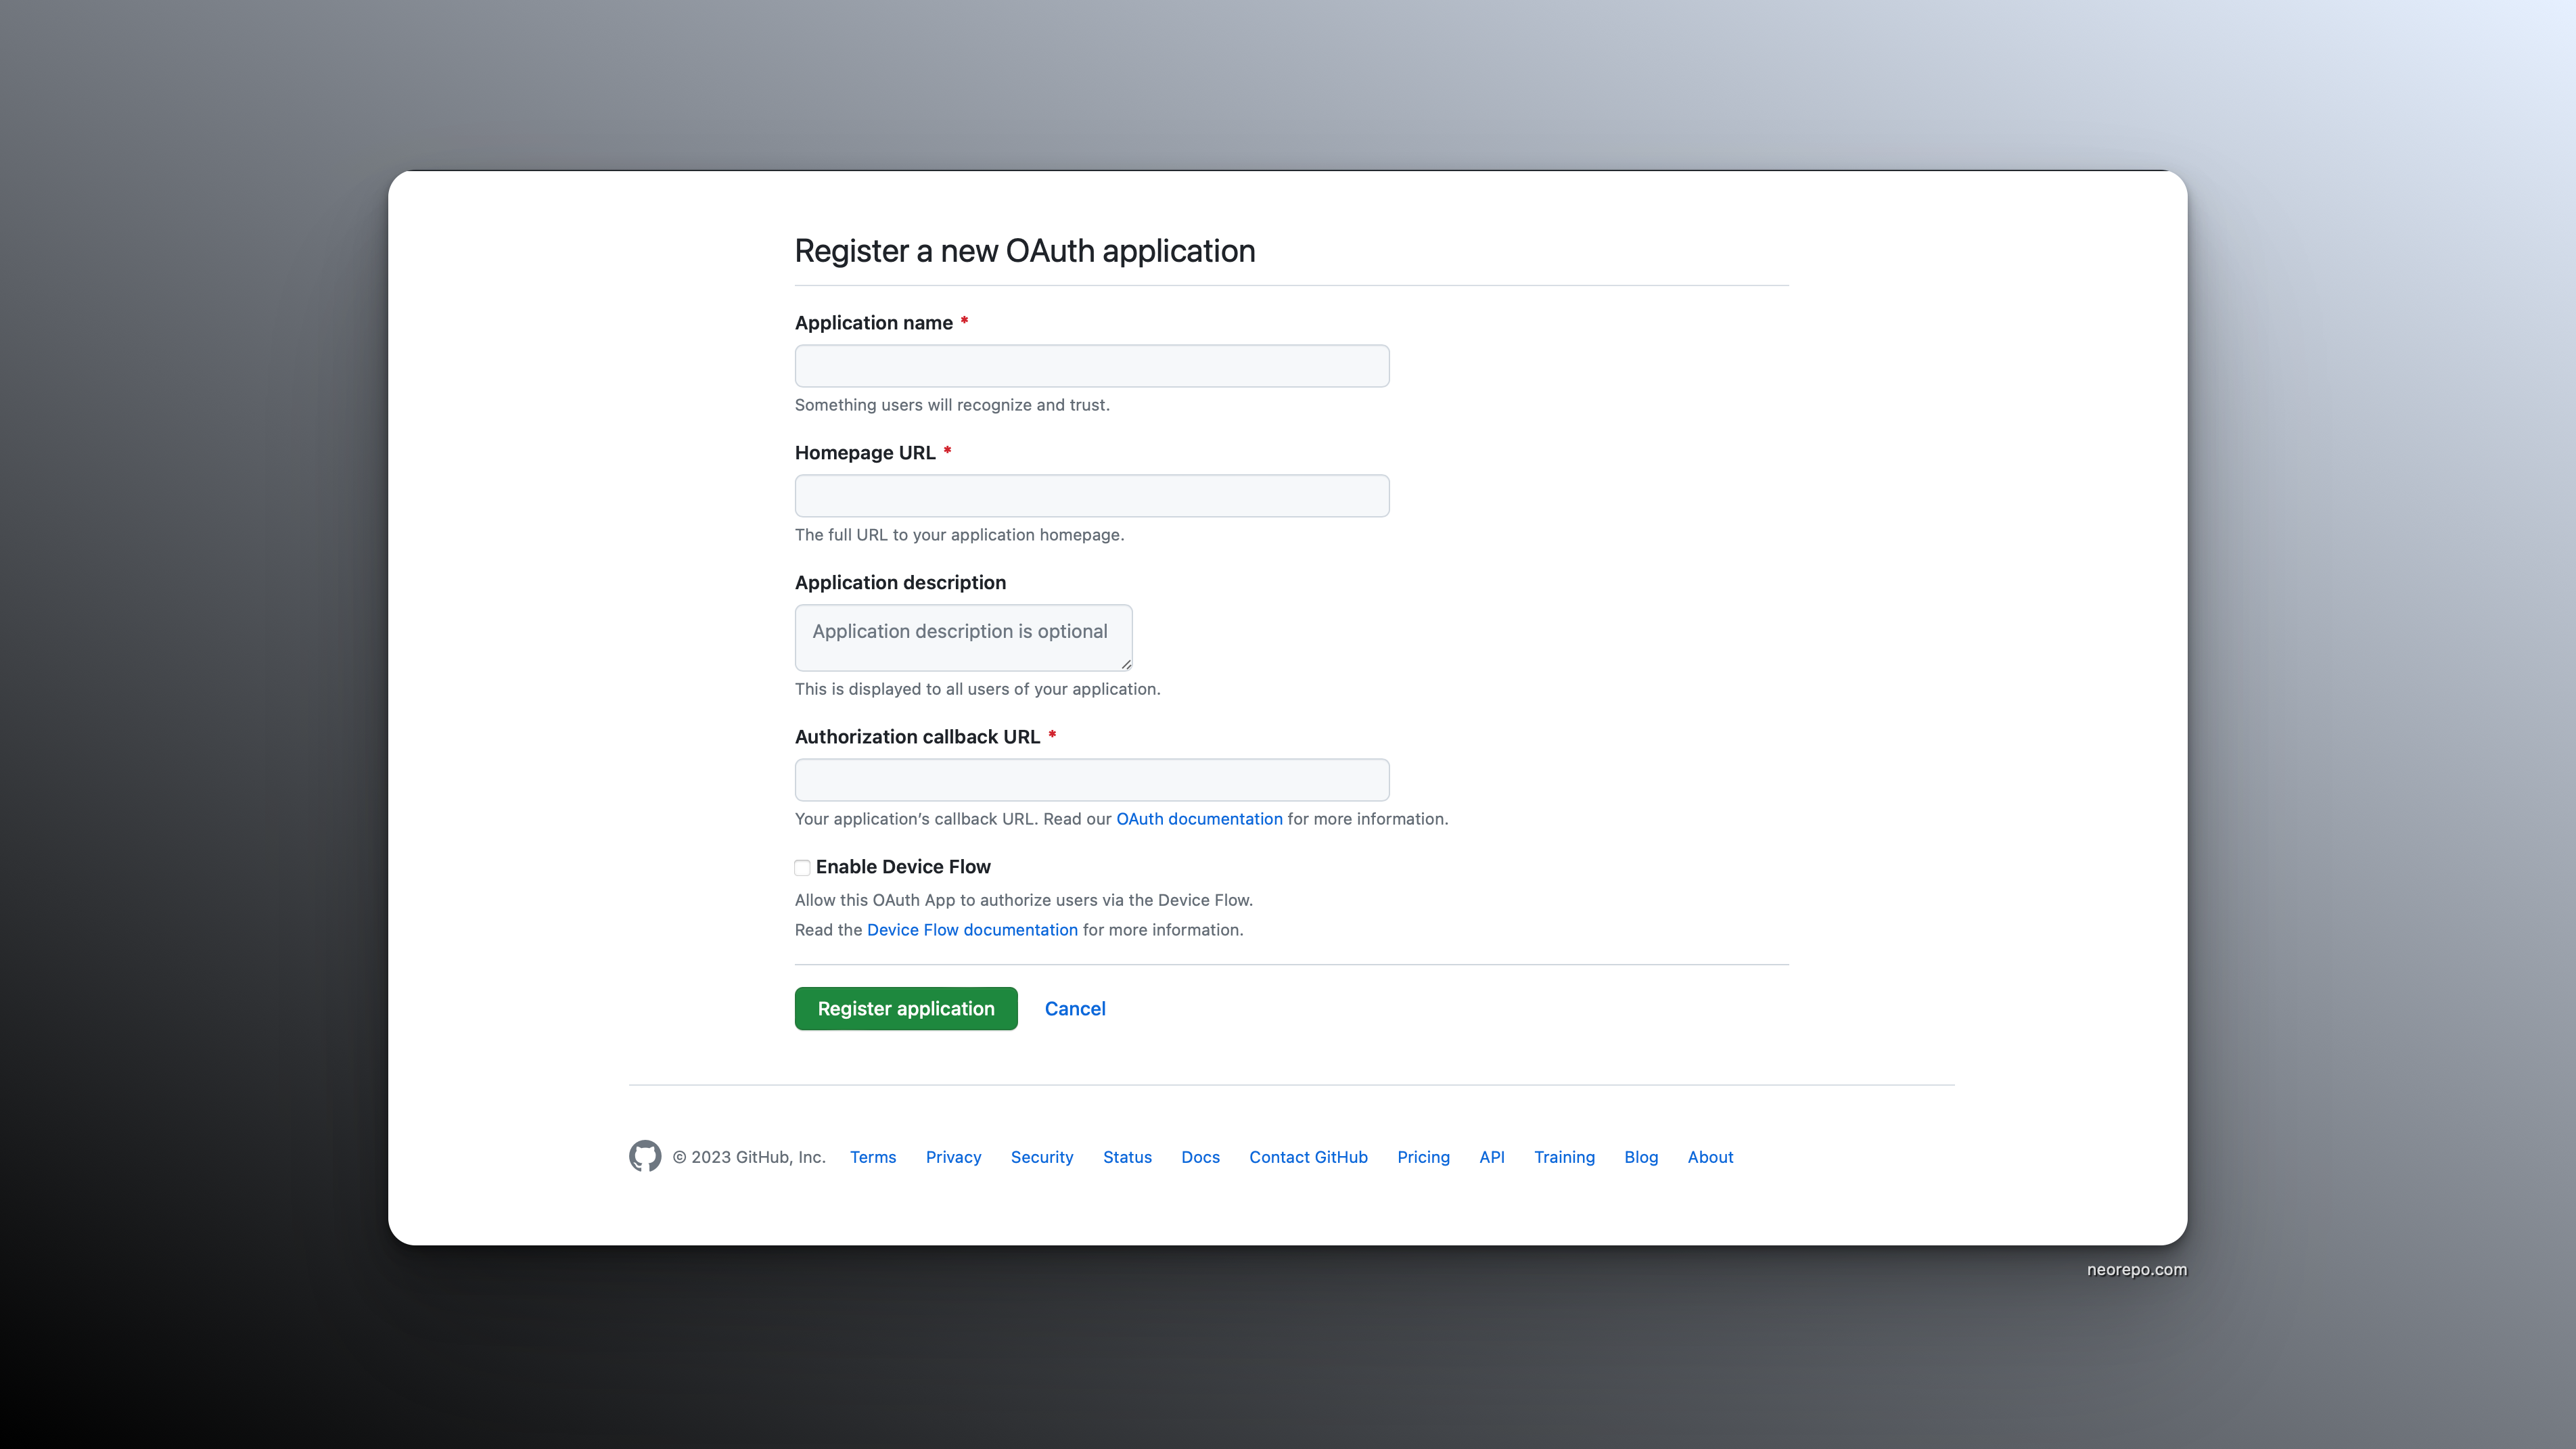
For the OAuth providers like GitHub, you will need a clientId and a clientSecret. We can get these by building a new OAuth app at Github.
- Sign in to your GitHub account
- Go to "Settings"
- Go to "Developer Settings"
- Find it in "OAuth Apps"

Session Control
In our _app.tsx file, which gives us control over our Next.js pages, we'll set up our Session Provider
import { SessionProvider } from "next-auth/react";

export default function App({
  Component,
  pageProps: { session, ...pageProps },
}) {
  return (
    <SessionProvider session={session}>
      <Component {...pageProps} />
    </SessionProvider>
  );
}
Then, in any one of our files, we can access the session
import { useSession, signIn, signOut } from "next-auth/react"
export default function Component() {
  const { data: session } = useSession()
  if (session) {
    return (
      <>
        Signed in as {session.user.email} <br />
        <button onClick={() => signOut()}>Sign out</button>
      </>
    )
  }
  return (
    <>
      Not signed in <br />
      <button onClick={() => signIn()}>Sign in</button>
    </>
  )
And if we need to protect an API route specifically, we can access the session as follows
import { getServerSession } from "next-auth/next";
import { authOptions } from "./auth/[...nextauth]";
export default async (req, res) => {
  const session = await getServerSession(req, res, authOptions);
  if (session) {
    res.send({
      content:
        "This is protected content. You can access this content because you are signed in.",
    });
  } else {
    res.send({
      error:
        "You must be signed in to view the protected content on this page.",
    });
  }
};Deploy
We need to set the environment variable for our product domain NEXTAUTH_URL=https://example.com
In Vercel, you can add this to your environment variables and then using the CLI, you can access it with vercel env pull
Neorepo is a production-ready SaaS boilerplate
Skip the tedious parts of building auth, org management, payments, and emails
See the demo© 2023 Roadtrip